
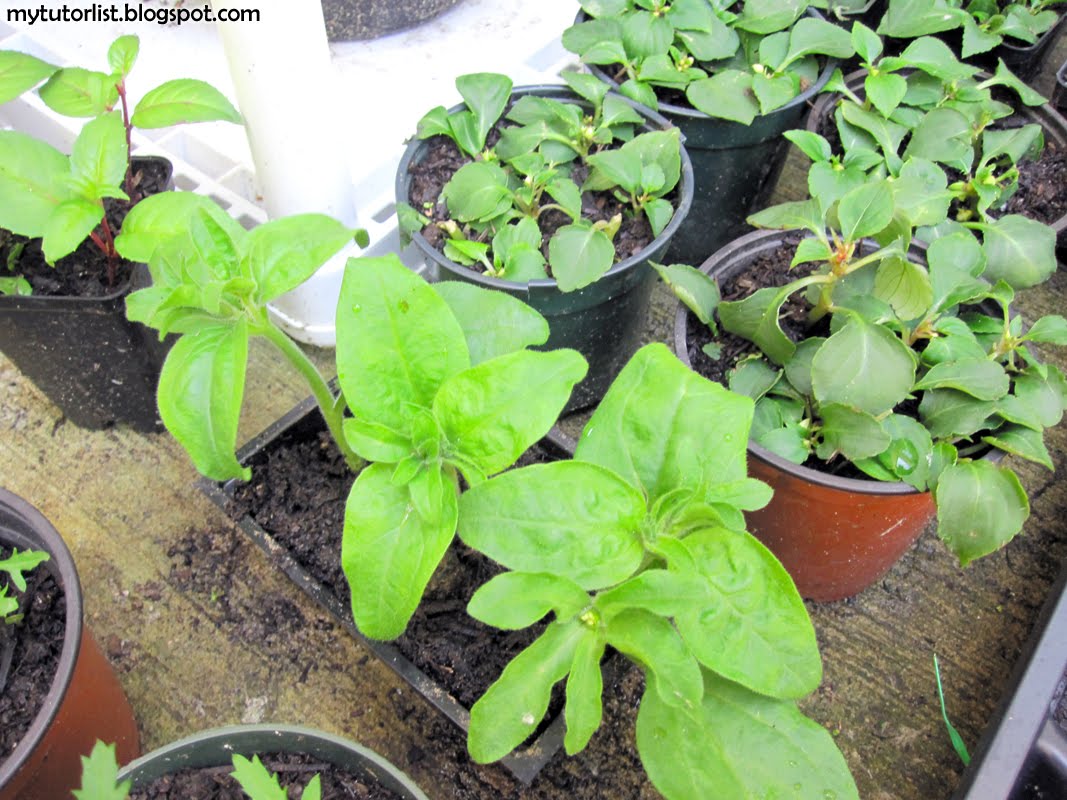
Petunias are an essential addition to hanging baskets. Their bright colors and ease-of-care also make them great for any gardener to brighten up their flowerbeds. The best news is that they are also easy to propagate.

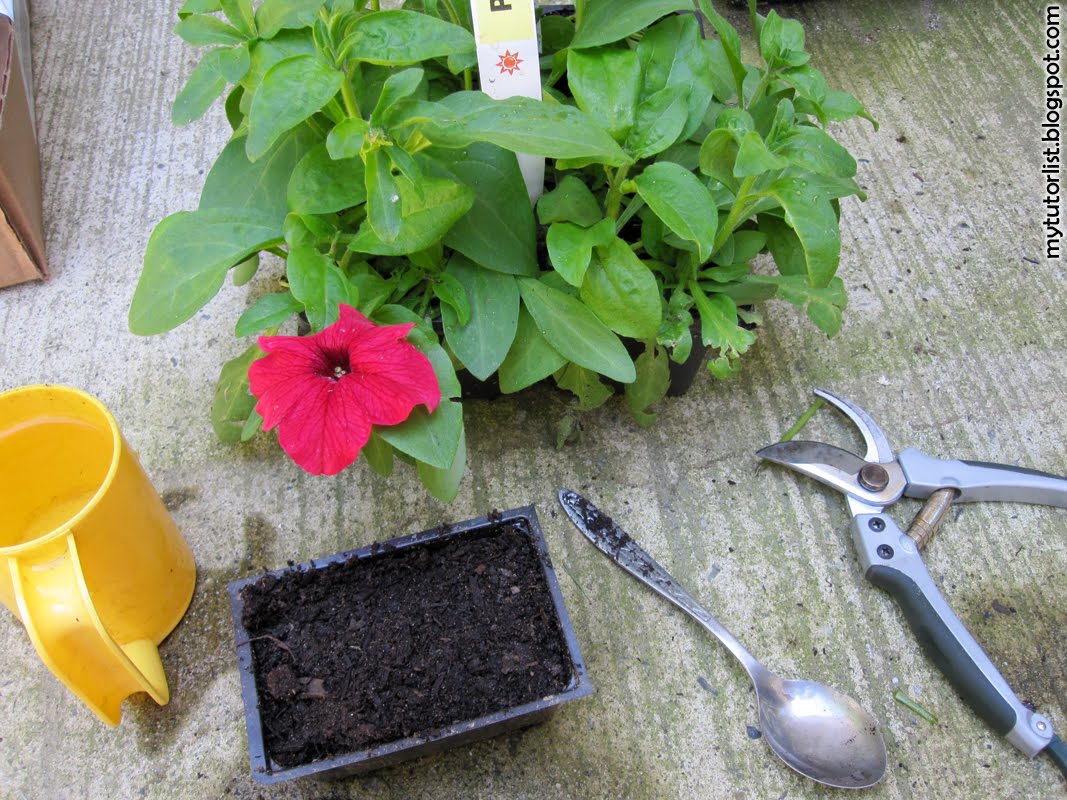
You will need the following supplies:
- Good quality soil
- A pot with good drainage
- A dibber/pencil/or thin spoon handle
- Scissors
- Healthy, well-watered petunia plants
- A container of water
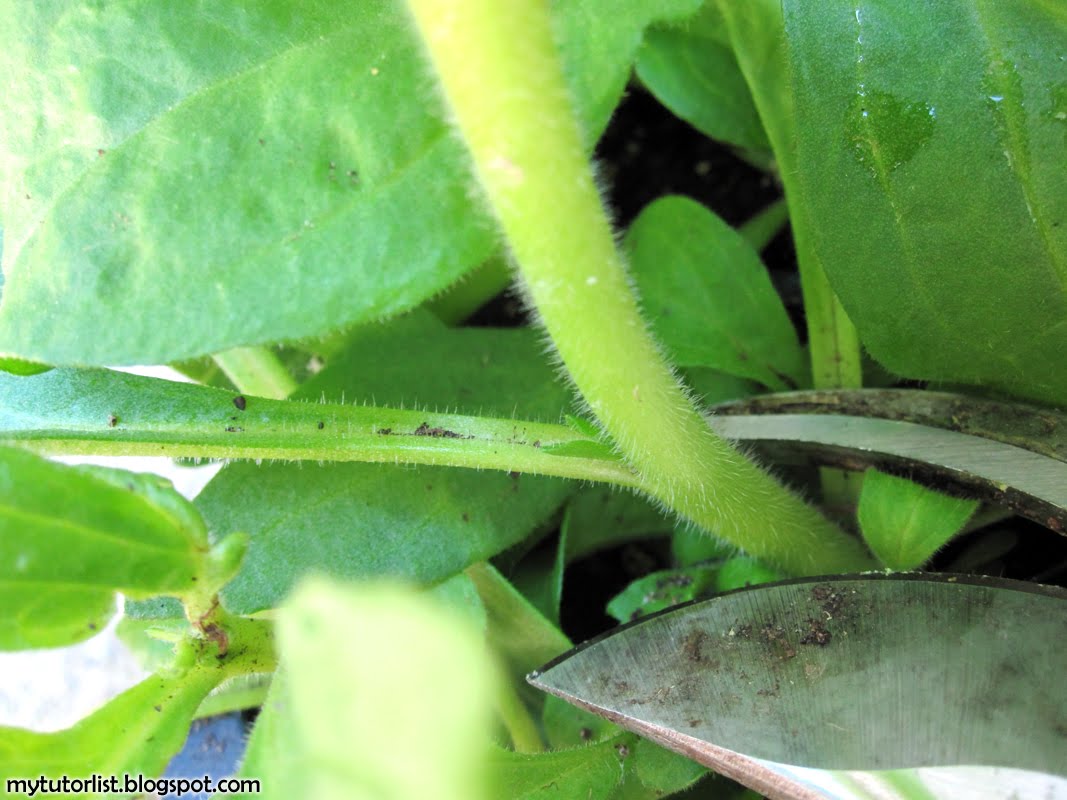
Snip off a stem from a petunia plant. Be sure to cut under a leaf joint, and ensure that there are at least 3 leaf joints on the stem.
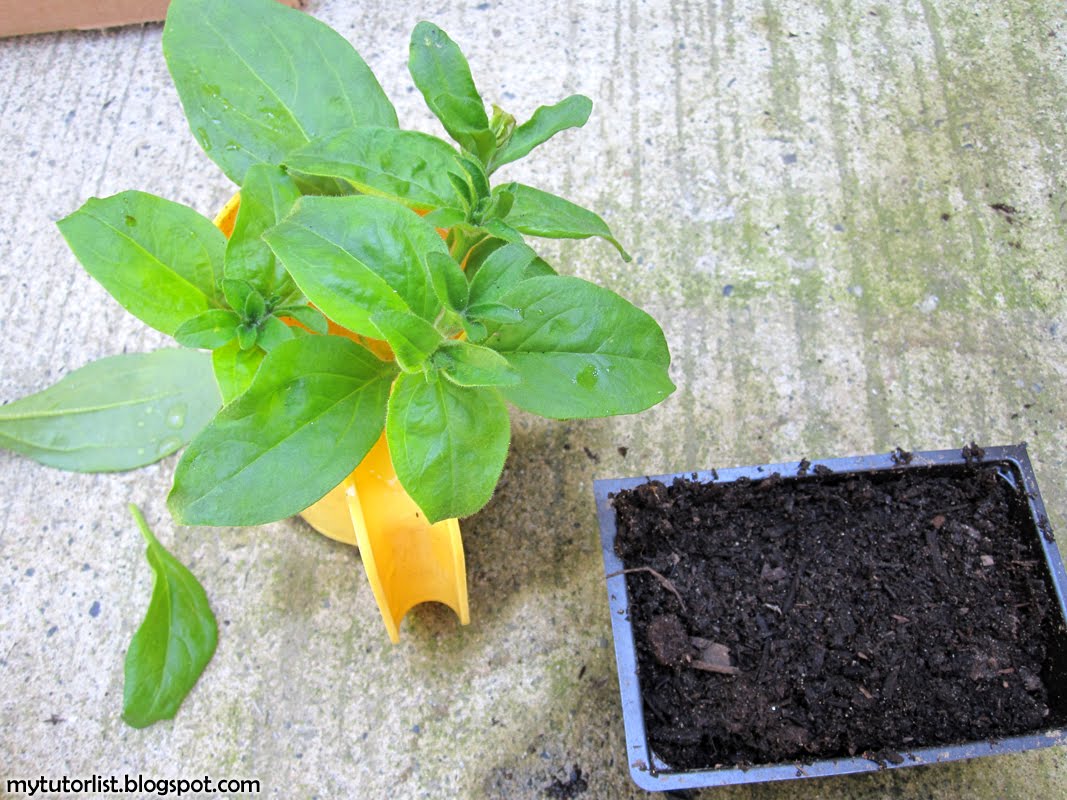
Keep your cuttings fresh by putting them immediately into a container of water while you work.
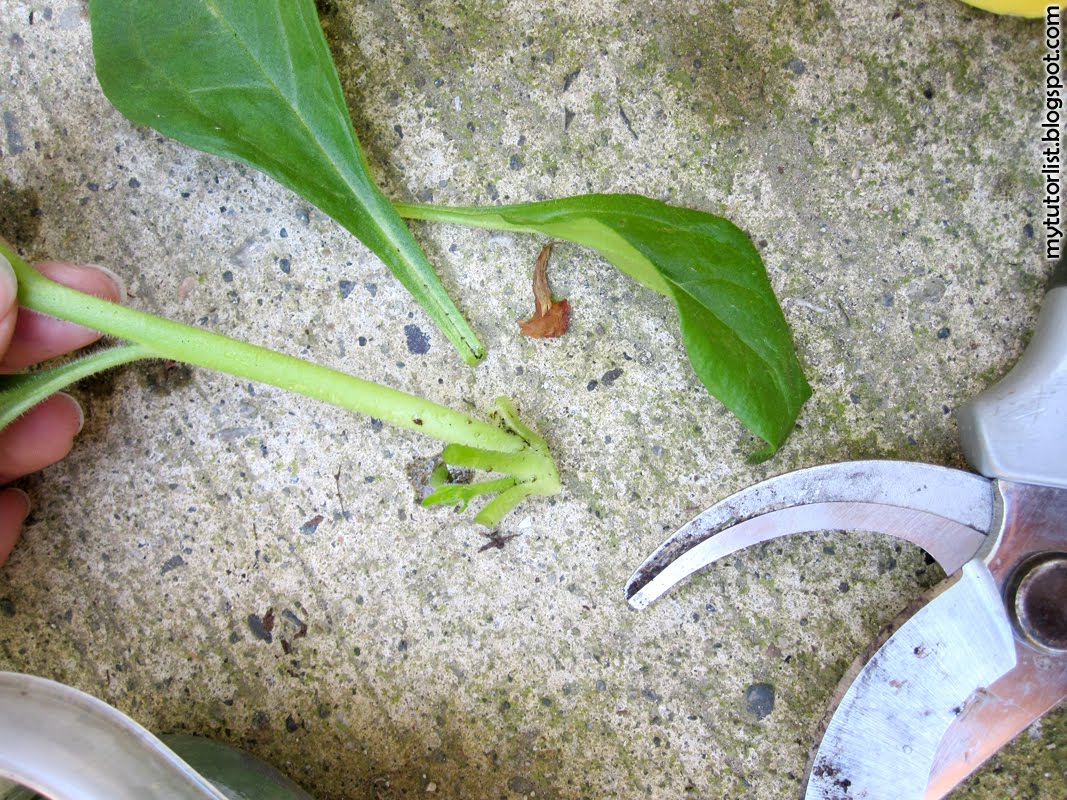
Snip off the lower leaves on the cuttings. Also, remove any flowers since you want the cuttings to focus their energy on growing roots first.
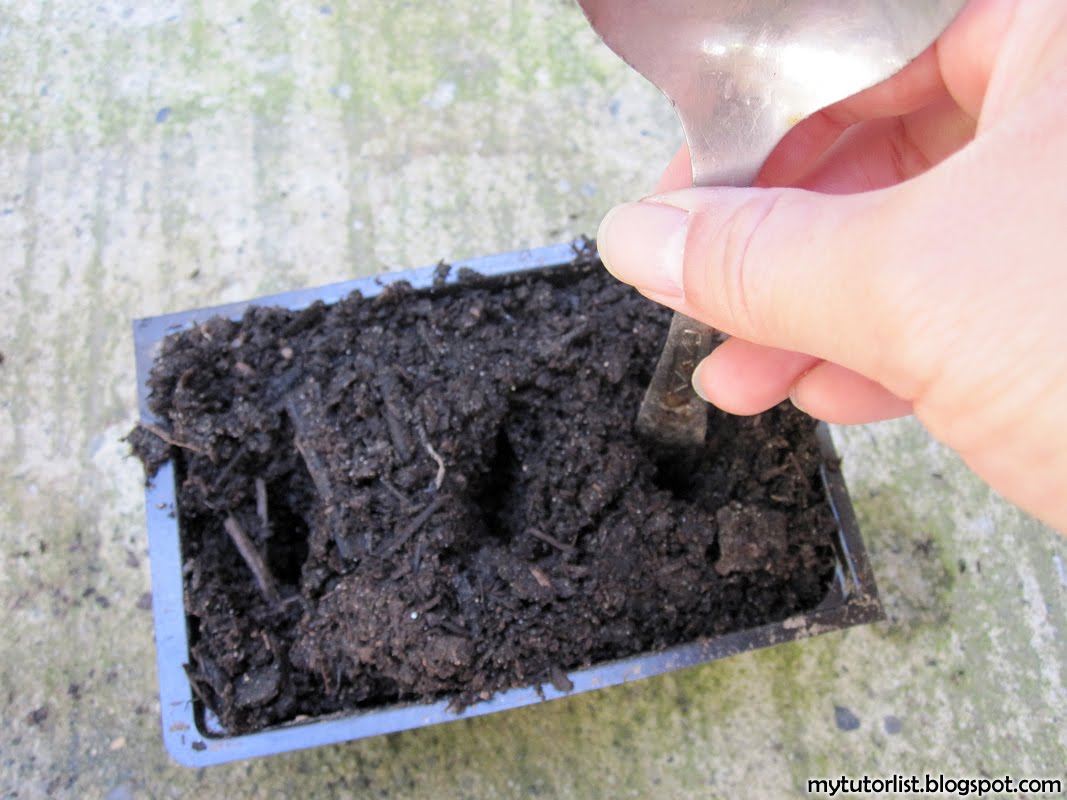
Fill your pot with soil. (Tip: The rule of thumb is to fill the container until it is heaping, and then to gently press the soil down into the container. It should fill up fairly perfectly.)
Use your dibber to make some deep holes in your container of soil.
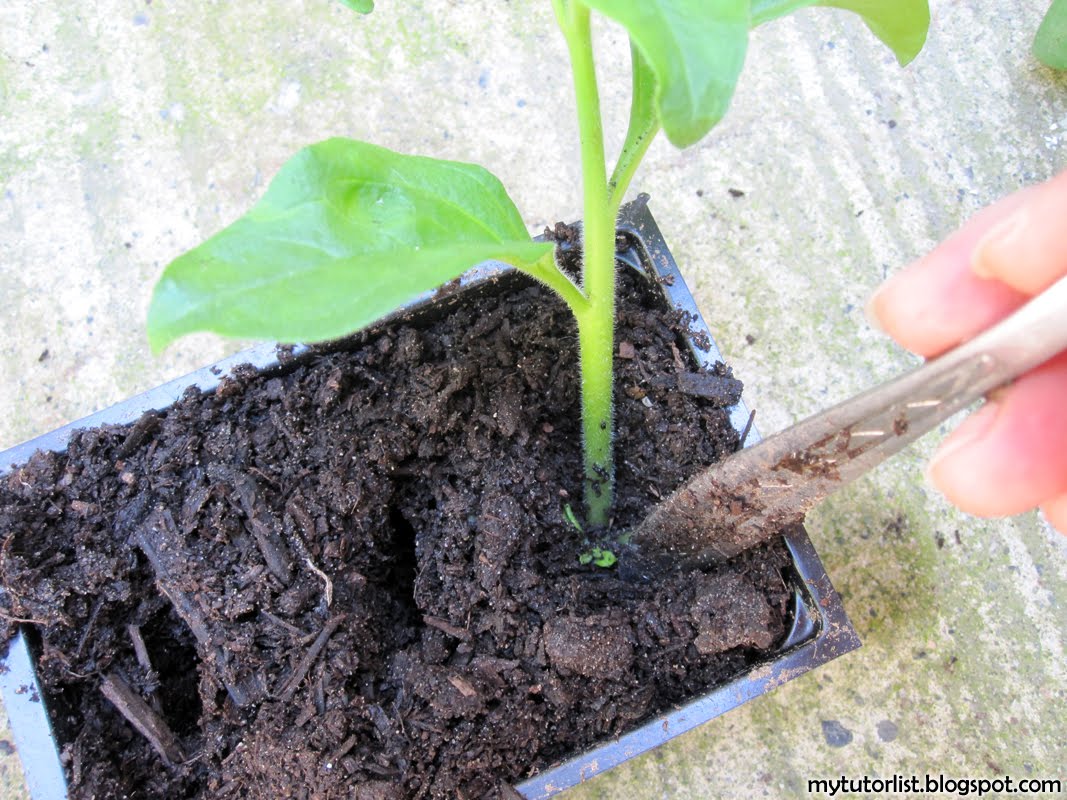
Place one cutting per hole.
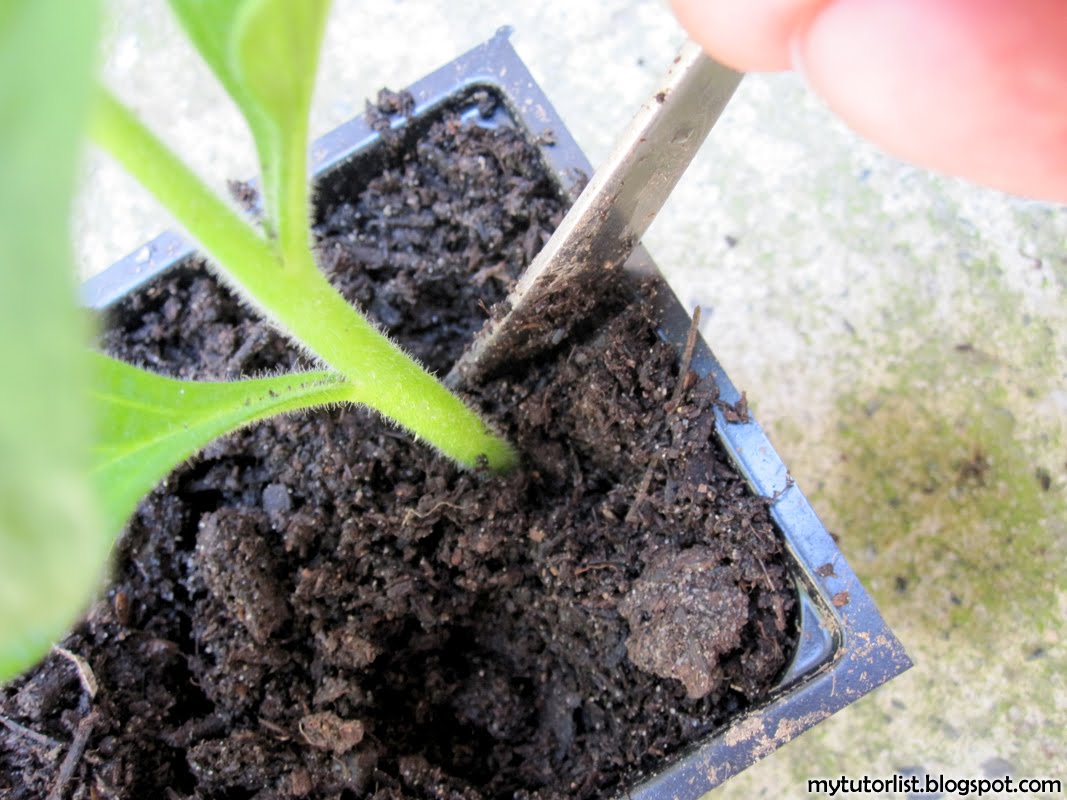
Use your dibber to push soil towards the plant stem so that the holes are filled.
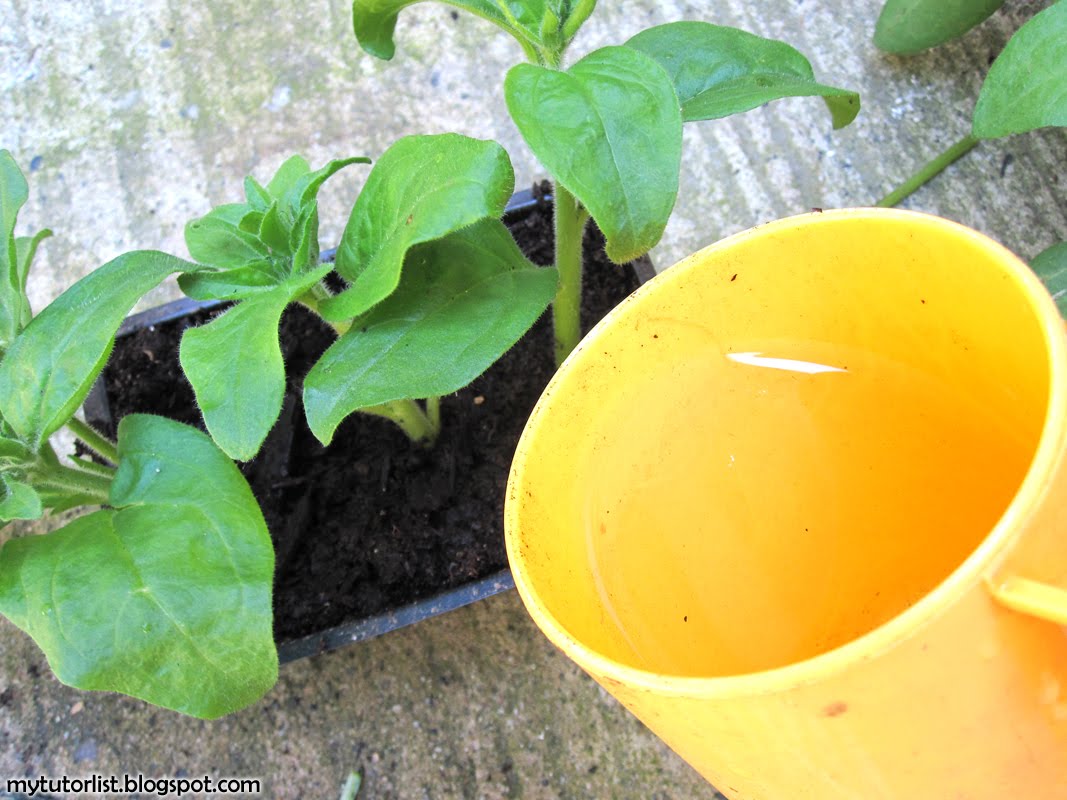
Water generously to really soak the soil and stems. This also helps the soil to settle around the cuttings.
Place the cuttings in a bright location with filtered light. Bright and shady is good too. Do not expose them to direct sunlight or overly hot and dry conditions. (Use an umbrella if necessary to create shade.)
These cuttings do not have roots yet so they dry out very easily. Keep the plants well-watered, soaking the leaves as well as the soil daily. On hot days, I soak them in the morning and again in the late afternoon. On cooler days, I only soak them in the evening.
The cuttings will be a little limp, but they should never be totally shriveled up. If they totally shrivel up, it is probably because you didn’t water them enough or the location is too hot.
About 2-3 weeks later, the cuttings will start to perk up. This is a sign that roots are starting to grow out and the cuttings are starting to be able to take up water from the soil.
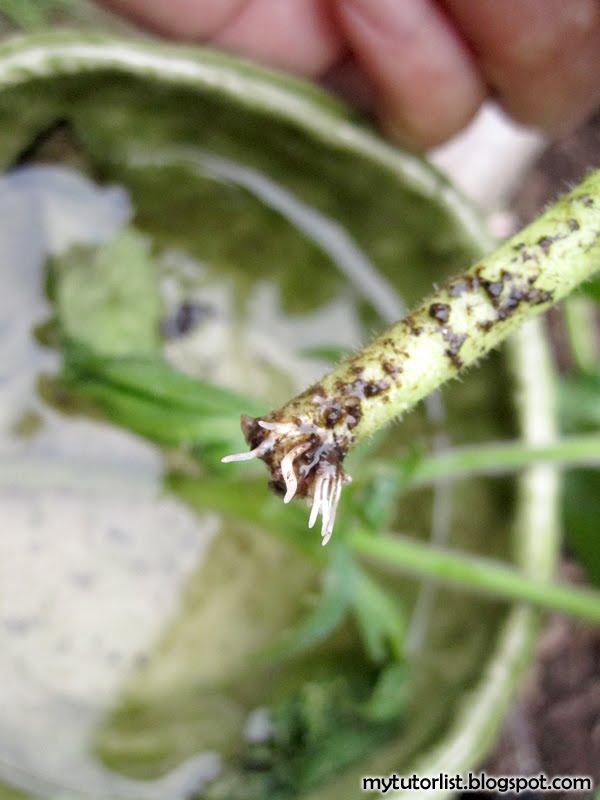
I am impatient so I usually gently ease one out to have a peek. Dip it into the water to rinse off the soil to check if there are roots forming. Be very gentle when you put the cutting back into the soil and water it well to ensure that the soil is all around the stem again.

If there are no roots, put the cuttings back into the soil and wait patiently for another week. As long as the cutting hasn’t died, it will eventually put roots down. Some cuttings just take longer than others.
If there are little roots forming, that is excellent. Put the cutting back into the soil and let it grow for another week. By this time, the cuttings should look pretty good and have some decent root growth. Feel free to gently plant them into a new location in your garden or hanging basket.
Always water well for the first couple of days after you plant them into a new location so that they have time to adjust to their new, sunnier, and drier pots and gardens.
Happy Gardening!